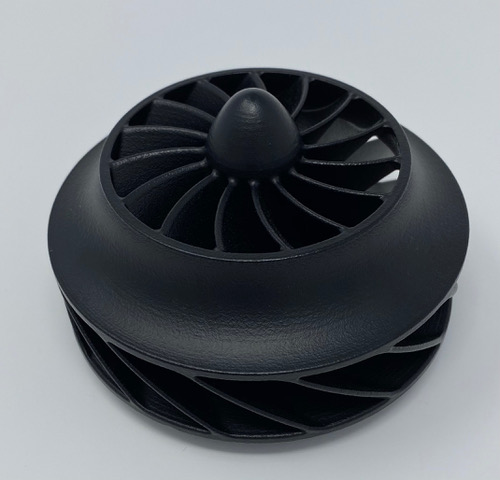
Post-processing services are key to producing high-quality 3D printed parts that have an aesthetically pleasing, finished look. At UPTIVE (previously RE3DTECH), we include these services with every customer order to ensure that the parts we deliver not only function perfectly but also look their very best.
Because we print so many parts at production volumes, we’ve invested in automated systems like the DyeMansion Powershot C to streamline post-processing and drive down cost and lead time for our customers.
Just like with other aspects of industrial 3D printing such as Design for Additive Manufacturing (DFAM), there are simple steps customers can take during the design phase to optimize their parts for post-processing.
Post-Processing at UPTIVE

Post-processing is especially important for parts that we print using HP Jet Fusion technology. This industrial 3D printing process uses high-powered lasers to fuse bits of powder into a stack of connected layers until a part is complete.
When a part comes off the print bed, it’s contained within a giant block of powder. We reclaim that unused powder and recycle it for future parts, but the original part still remains fully caked in powder.
At that point, we transfer the part to the DyeMansion Powershot C, which de-powders it quickly and effectively. Removing powder from all crevices and surfaces is important no matter what, but it’s especially critical if the part will be dyed. When parts are clean and free of debris, it’s much easier to maintain color consistency during the dyeing phase.
Next steps after cleaning the part may include dyeing, shot peening the surface to remove residual stains from the dye process, and vapor smoothing to create a beautiful finish.
The key to optimizing this process is to design parts that can be cleaned sufficiently with the automated DyeMansion Powershot C and minimal manual cleaning. Parts that aren’t optimized for post-processing may require extensive manual cleaning that can add considerable cost and lead time to a project—especially at higher volumes.
So, how can customers design 3D printed parts for post-processing? We have some simple recommendations.
5 Ways to Optimize 3D Printed Parts for Post-Processing
- Design through holes instead of dead ends. Through holes are much easier to clean than dead ends because the air flows through easily, clearing away any powder that has been left behind. Designing through holes whenever possible will ensure you receive the highest quality part possible.
- Avoid internal channels with 90 degree turns. Sometimes during post-processing we have to feed a wire into a channel to break up the powder before shooting air into it to clean it out. If we’re dealing with 90 degree turns, it can be difficult to maneuver the wire internally. Designing internal channels to curve slightly allows us to move the wire much more efficiently.
- Fillet sharp corners. When the connection points between two sides of a part are sharp 90 degree corners, it can be challenging to remove powder from those areas. Filleting—or rounding off hard edges—ensures that the airflow can access the powder to remove it thoroughly, eliminating the extra manual work of cleaning out the connection points a second time.
- Use threaded inserts instead of modeling threads. When customers design modeling threads into their parts, we have to manually chase the threads during post-processing to clean them out efficiently. Heat-set inserts are a much better alternative, not only from a post-processing perspective, but also for improving a part’s durability, precision, and torque strength.
- Design ribbing into flat parts that will be dyed or vapor smoothed. Since dyeing and vapor smoothing involve subjecting parts to high temperatures, warping is always a risk. Flat parts may come out looking more like potato chips. Designing ribbing or reinforcement into flat parts helps to minimize this risk considerably so that you get a high-quality part that’s actually flat.